RV ownership comes with a lot of moving parts, and your RV roof isn’t usually something you think about day to day. In fact, most RV owners with a FlexArmor roof don’t need to think about it at all. The goal of our lifetime no-leak warranty is that once a customer leaves the lot, we won’t see them again (unless they buy a new camper and need a new roof).
However, in rare cases, the unthinkable happens. A satellite dish gets added after installation, a new accessory punctures the surface, or a falling tree limb causes unexpected damage. If your FlexArmor roof shows signs of damage or wear, it’s essential to act quickly to prevent further issues. Before getting into how to repair an RV roof, it helps to understand a few simple ways to avoid damage altogether.
How to Prevent RV Roof Damage
While FlexArmor roofs are designed to be durable and long-lasting, a few proactive steps can help reduce the risk of damage over time, especially when changes are made after installation.
- Be mindful of adding rooftop accessories – Even minor modifications to your RV roof can lead to leaks or damage. If you’re considering adding vent covers, solar panels, or other accessories after installing FlexArmor, we recommend using a “no-leak” bracket to keep screws from penetrating the roof surface. This will reduce the risk of leaks. Then stop by FlexArmor to re-seal it for added durability. We are also happy to help with the installation of those accessories.
- Inspect the roof after major events – Severe weather, low-hanging branches, or impact from debris can occasionally cause significant RV roof damage. A quick self-inspection after a storm or long trip will help catch any issues early.
- Schedule a professional inspection – If you notice changes to your roof, damage around a new accessory, or something just doesn’t look quite right, a certified FlexArmor installer will gladly take a look at your roof before a minor issue becomes a bigger one.
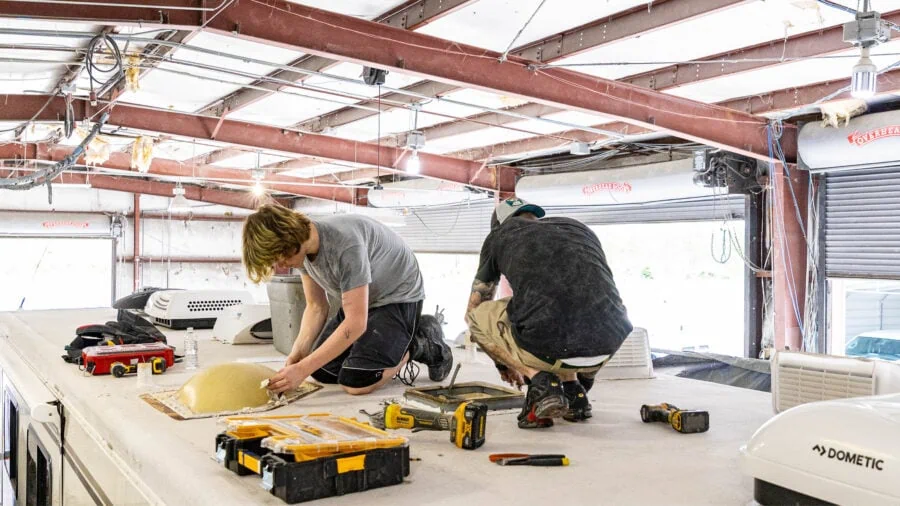
How to Repair an RV Roof
When you’re facing an RV roof repair, you probably picture extensive work, high costs, and days out of service. In reality, repairing a FlexArmor roof is usually pretty straightforward. Thanks to the unique properties of our product, we’re able to bond directly to the original roof material when doing RV roof repairs. In most cases, RV roof repairs are needed for a specific damaged area or sealing around a newly added accessory, rather than reworking the entire roof. With the proper preparation, we can restore your roof’s integrity without the need for major or costly repairs for minor, isolated issues.
Most repairs take about a day to complete, with the primary cost being labor. Once the repair is complete, we carefully blend the new material into the existing surface.
Where to Get your FlexArmor RV Roof Repaired
FlexArmor is designed to last, but if an RV roof repair is needed, it’s best to contact a certified professional for an assessment. We provide RV roofing services at dozens of locations across the country. You can contact the shop that applied your roof, or find the shop closest to you. Contact your nearest FlexArmor certified installer for an RV roof repair estimate or inspection today.