After a long road trip in your RV, the last thing on your mind is poking around with a flashlight and checklist. You’re ready to kick your feet up and relive your favorite campground moments. But before you fully shift into relaxation mode, it’s worth doing one more lap around the rig.
Making post-trip inspections part of your regular routine can help you avoid costly repairs, extend the life of your RV, and give you peace of mind before your next journey.
Whether you’re a full-time RVer or a weekend warrior, this guide will help you spot issues early and keep your rig road-worthy for the long haul.
Inspect the Roof First (It’s More Important Than You Think)
Your RV roof takes a constant beating—sun, wind, low-hanging branches, pop-up storms, and all the wildcards that come with life on the road. Over time, that exposure can lead to cracks, leaks, soft spots, and water damage that’s expensive (and frustrating) to fix.
How do you prevent damage? Make roof inspections a regular part of your RV maintenance checklist.
After every trip, take a few minutes to check your roof. Look for:
- Cracks or tears in the membrane
- Bubbling, discoloration, or soft spots
- Gaps or worn sealant around vents, AC units, and roof edges
Pay close attention to the sealant around fixtures – these are common areas where leaks can develop. If you find serious damage (mold, mildew, and water damage) during your post-trip inspection, it may be time for an RV roof replacement. Consider upgrading to a seamless, spray-on roof coating like FlexArmor, which requires no maintenance and takes the stress out of those post-trip inspections.
Tires, Appliances, and Plumbing–What to Check
With the roof secured, shift your focus to what keeps your travel smooth and comfortable. What to check:
- Tire pressure: Inflate to the correct PSI listed in your RV manual
- Tread depth: Use the penny trick—if you can see the top of Lincoln’s head, it’s time for replacements
- Cracks or dry rot: Look for signs of aging, even if you didn’t drive far
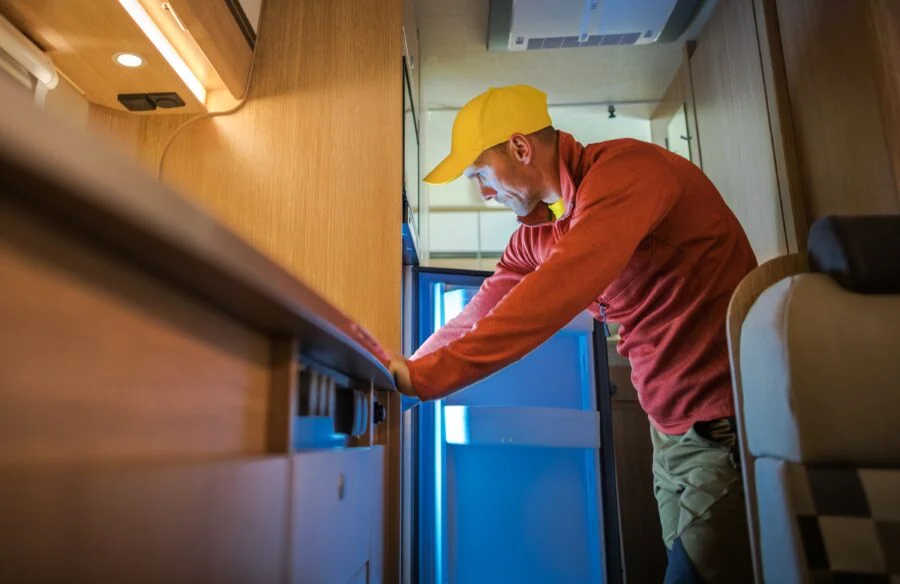
Then head inside to give your appliances and plumbing a quick once-over:
- Test appliances to ensure nothing loosened or shifted
- Check under sinks and water lines for leaks
- Drain tanks if you’re storing your RV for a while
Tire blowouts are one of the most common causes of RV accidents, but they’re often preventable with a little maintenance. After each trip, verify tire pressure and tread wear. If the penny test shows the top of Lincoln’s head, it’s time to replace. Look for dry rot or cracks, even if you didn’t drive far.
After checking the tires, turn your attention to the interior. Hidden moisture and aging systems can sneak up on you. Test all major appliances and electronics to ensure they’re still functioning properly. Check under sinks and around plumbing connections for any new drips or leaks. If you’re parking your RV for a while, draining the water tanks helps prevent bacteria buildup or freezing damage.
Even short trips can cause tire pressure loss or appliance movement. A quick post-trip inspection now can save you from bigger headaches later.
Deep Clean Your RV to Prevent Long-Term Damage
Nothing beats the freedom of the open road. However, every RV adventure brings the inevitable buildup of dirt and grime inside your home on wheels. Dust, food crumbs, and moisture can lead to odors, stains, or even pest problems.
Here’s how to tackle the mess and get your camper ready for your next trip:
- Air out the rig and check for mildew – Cooking, showering, or an unseen leak can create moisture that can lead to condensation and possibly mildew if left untreated. Before you start cleaning, open all the windows and doors to get some fresh air circulating through your RV.
- Clean refrigerator, oven, and microwave interiors – To prevent pests and rotten smells, remove any perishable foods from the refrigerator or anywhere else you might store food. Wipe down the inside and outside of all your appliances.
- Vacuum and mop all floors and upholstery – Whether you’re hiking or hanging by the campfire, you’re bound to track dust and dirt inside your RV. Plus, meals and snacks can leave behind crumbs that attract pests (or worse). Vacuum and mop all floors and upholstery to stay ahead of the mess.
- Wipe down surfaces with RV-safe cleaners – To keep the mold and mildew at bay, wipe down any surfaces in the bathroom or kitchen.
Maintaining a clean RV doesn’t have to feel like a chore. For more RV maintenance and cleaning advice, check out our RV roof repair blogs and resources.
Protect Your RV With a Post-Trip Inspection
After a long journey, a post-trip inspection might feel like another chore, but it doesn’t have to be. A post-trip inspection helps you catch small issues before they become big problems. Check everything from your RV roof and tires to plumbing and appliances, and the interior. A quick once-over now can save you time and money down the road.
Looking for a more permanent solution for your RV roof? FlexArmor doesn’t require any special maintenance and eliminates the need for caulking, special cleaners, or conditioners, meaning you’ll always be ready for your next adventure. Get an estimate today.